
To use an air compressor, connect it to power, attach the correct air tool or accessory, set the regulator to the required PSI for your task, and pull the trigger or open the valve to begin work. Air compressors are versatile tools used for inflating tires, powering nail guns, running spray guns, blowing out debris, and much more. Getting the process right from the start — including understanding pressure settings, drain maintenance, and safety steps — ensures both effective results and long equipment life.
Understanding Your Air Compressor Before You Start
Before operating any air compressor, it helps to understand its key components and what each one does. This prevents incorrect settings and avoids damage to the compressor or connected tools.
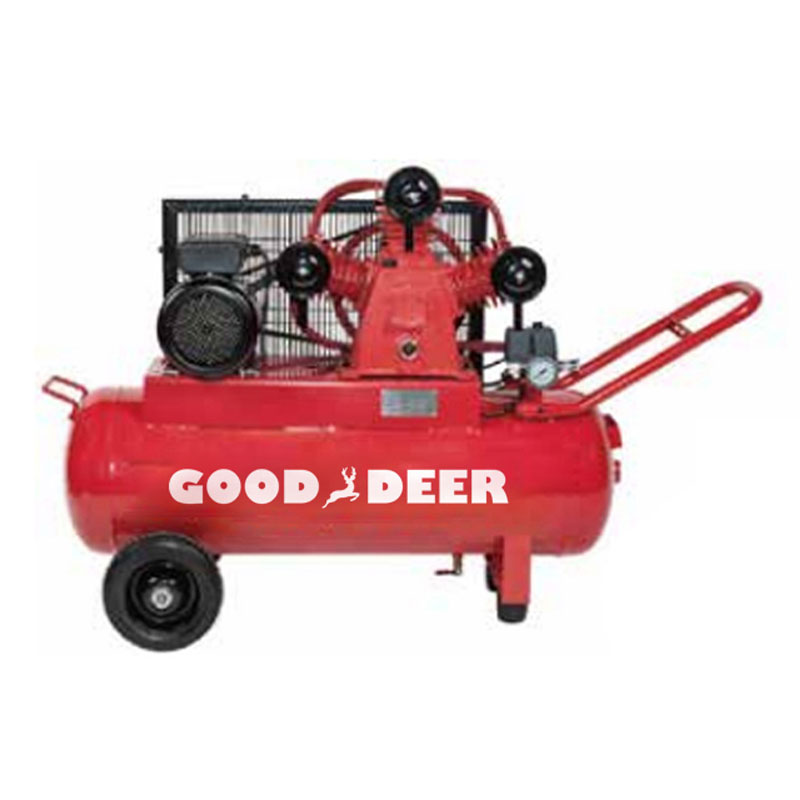
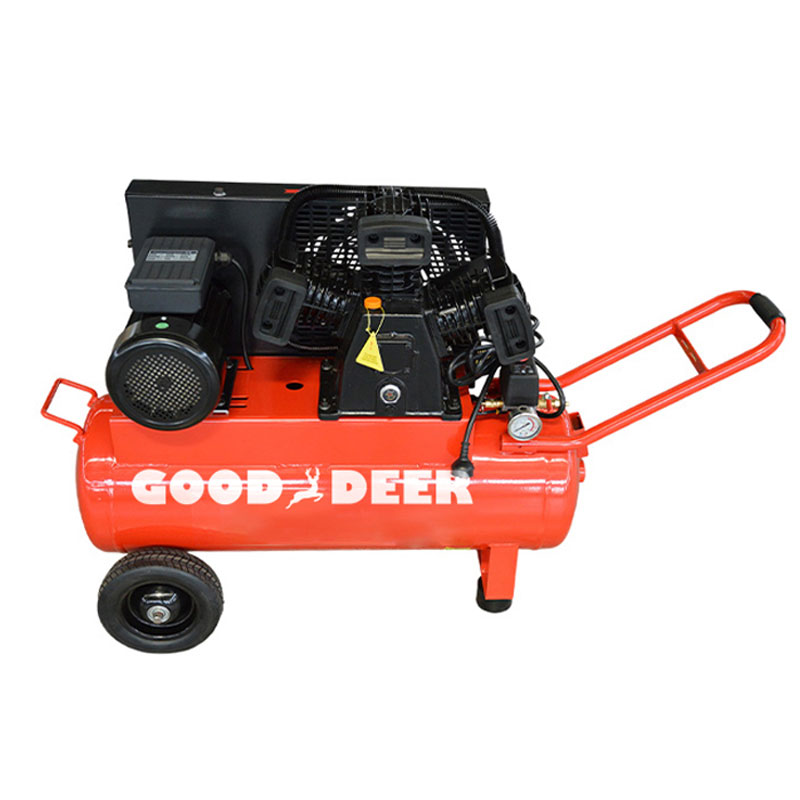
- Tank — stores compressed air at high pressure; common sizes range from 1-gallon portable units to 60-gallon stationary tanks. Larger tanks allow longer continuous tool use before the motor cycles back on.
- Motor/pump — compresses air and pushes it into the tank; the motor cycles on when tank pressure drops below the cut-in pressure (typically 90–100 PSI) and shuts off at the cut-out pressure (typically 125–150 PSI).
- Pressure regulator — the knob or dial you turn to set the working pressure delivered to your tool; always set this lower than tank pressure.
- Tank pressure gauge — shows the current pressure stored inside the tank; this is the "input" reading.
- Output (regulated) pressure gauge — shows the pressure being delivered to your air hose and tool after passing through the regulator.
- Safety valve (pressure relief valve) — automatically releases air if tank pressure exceeds the safe maximum; never tamper with or remove this valve.
- Drain valve — located at the bottom of the tank; used to drain condensed water that accumulates inside the tank during operation.
- Quick-connect coupler — the outlet fitting where the air hose attaches; push-to-connect style couplers are the most common on consumer and professional compressors.
How to Set Up an Air Compressor for First Use
Proper setup before first use protects both the compressor and operator. Follow these steps in order every time you set up, especially if the compressor has been stored or moved.
- Check the oil level (oil-lubricated models only) — locate the oil sight glass or dipstick on the pump housing. The oil level should be within the marked range. Use the compressor manufacturer's specified oil — typically non-detergent SAE 30 or a dedicated compressor oil. Oil-free compressors skip this step entirely.
- Inspect the air filter — remove the intake filter cover and check that the filter element is clean and undamaged. A clogged intake filter reduces efficiency and causes the motor to work harder.
- Position the compressor — place on a firm, level surface with at least 12 inches of clearance on all sides for ventilation. Keep away from flammable materials and ensure the intake is not drawing in dusty or humid air if possible.
- Check that the drain valve is closed — the drain valve at the tank bottom should be fully closed before powering on. An open drain valve will prevent pressure from building.
- Turn the regulator to its lowest setting — rotate the regulator knob fully counterclockwise before starting so that output pressure starts at zero. This protects connected tools from a sudden pressure surge at startup.
- Plug in and switch on — connect to a properly grounded outlet that matches the compressor's power requirements. Most portable compressors run on standard 120V / 15-amp circuits; larger stationary models may require 240V. Flip the power switch to ON and allow the tank to fill completely — this takes 1–4 minutes depending on tank size.
- Connect the air hose — push the hose coupler firmly into the compressor outlet until it clicks. Give it a slight tug to confirm it is locked. Then attach the required tool or accessory to the other end of the hose.
- Set the regulator to the required working pressure — turn the regulator knob clockwise to raise output pressure while watching the output gauge. Set to the PSI required by your specific task or tool (see the pressure guide below).
What PSI to Set for Common Air Compressor Tasks
Setting the correct pressure is one of the most important steps. Too little pressure results in poor tool performance; too much can damage tools, workpieces, or tires, and creates unnecessary safety risk. Always check the tool manufacturer's recommended operating pressure first — the figures below are standard industry guidelines.
| Task / Tool | Recommended PSI | Notes |
|---|---|---|
| Car tire inflation | 30–35 PSI | Check door placard for exact spec; never exceed sidewall max |
| Bicycle tire inflation | 80–130 PSI (road); 30–50 PSI (mountain) | Inflate slowly; road tires have high max PSI, inflate carefully |
| Framing nail gun | 70–120 PSI | Start low and increase until nail drives flush |
| Brad nailer / finish nailer | 60–90 PSI | Lower pressure for trim work to avoid splitting |
| Spray paint gun (HVLP) | 25–45 PSI | Measure at the gun inlet, not the regulator |
| Impact wrench | 90–100 PSI | Requires high CFM; check compressor capacity |
| Air ratchet | 90 PSI | Standard shop tool pressure |
| Blow gun / debris cleaning | 30–50 PSI | Never exceed 30 PSI aimed at skin; OSHA safety limit |
| Sandblaster | 60–100 PSI | Higher CFM demand; requires large tank or continuous-duty compressor |
| Staple gun | 60–100 PSI | Adjust based on material thickness and staple depth |
Understanding CFM: Why Pressure Alone Is Not Enough
Many beginners focus only on PSI, but CFM (cubic feet per minute) — the volume of air the compressor delivers — is equally important, especially for continuous-use tools. If your compressor cannot deliver enough CFM for a tool's demand, the tank pressure will drop rapidly and the tool will lose power or stall.
Key CFM guidelines to understand:
- A typical 6-gallon portable compressor delivers approximately 2.6 CFM at 90 PSI — sufficient for brad nailers, inflating tires, and blow guns but not for sustained impact wrench use.
- An impact wrench typically requires 4–5 CFM at 90 PSI; a sandblaster may need 10–20 CFM — well beyond most portable units.
- As a practical rule, choose a compressor that delivers at least 1.5× the CFM requirement of your most demanding tool to ensure consistent performance without constant motor cycling.
- For intermittent-use tools like nail guns, a smaller tank is acceptable — the compressor recharges between shots. For continuous tools like grinders or spray guns, a larger tank and higher CFM rating are essential.
How to Use an Air Compressor to Inflate Tires
Tire inflation is one of the most common household uses for an air compressor. Done correctly, it takes under two minutes per tire.
- Check the recommended tire pressure — look at the sticker inside the driver's door jamb or in the owner's manual. This is the cold inflation pressure, typically 32–36 PSI for most passenger cars.
- Set the regulator to slightly above target PSI — set to about 5 PSI above your target to account for pressure loss when attaching and detaching the chuck.
- Remove the valve cap from the tire's valve stem and keep it somewhere safe.
- Attach the inflation chuck — press firmly onto the valve stem until the hiss of escaping air stops and the chuck locks on. A poorly seated chuck will bleed air rather than add it.
- Inflate in short bursts — squeeze the trigger in 3–5 second intervals, then check pressure with the gauge built into the chuck or a separate tire gauge.
- Release excess pressure if needed — if you overshoot, press the small pin inside the valve stem with a pen cap or the gauge's bleed button to release a small amount of air, then recheck.
- Remove the chuck and replace the valve cap — thread the cap back on hand-tight to protect the valve stem from dirt and moisture.
How to Use an Air Compressor With a Nail Gun
Pneumatic nail guns are among the most productive applications for an air compressor. They drive nails significantly faster and with less fatigue than a hammer, but require correct setup for safe and accurate results.
- Load the nail magazine — open the nail gun's magazine latch and insert the correct nail strip for the gun type. Confirm nails are the correct gauge and length for the application.
- Connect the air hose to the nail gun — push the quick-connect fitting on the hose into the nail gun's inlet port until it locks. Most nail guns accept a standard 1/4-inch NPT coupler.
- Set the compressor regulator to starting pressure — begin at the lower end of the recommended range (e.g., 70 PSI for a framing nailer) and test fire into a scrap piece of the same material.
- Test and adjust — if the nail head sits above the surface, increase pressure by 5 PSI. If the nail is driven below flush (countersunk too deep), reduce pressure. Fine-tune until nails sit exactly flush.
- Enable the safety tip — most nail guns have a contact safety tip that must be depressed against the workpiece before the trigger will fire. Never defeat or tape down this safety feature.
- Keep the muzzle pointed at the workpiece — never point a loaded nail gun at people. Treat it with the same discipline as a firearm.
Air Compressor Safety Rules Every User Must Know
Air compressors store large amounts of energy. A standard 6-gallon tank at 150 PSI contains enough stored energy to cause serious injury if a fitting fails or the tank ruptures. Following safety rules is non-negotiable.
- Never exceed the tank's rated maximum pressure — the pressure relief valve is the last defense against over-pressurization; never adjust, block, or remove it.
- Wear safety glasses whenever using air tools — compressed air can propel debris, fasteners, and particles at high velocity.
- Never direct compressed air at people or animals — even at low pressure, compressed air blown at skin can force air into the bloodstream (air embolism), which is potentially fatal. OSHA limits air pressure for cleaning purposes to 30 PSI maximum.
- Inspect hoses and fittings before each use — a cracked hose or loose fitting can whip violently when pressurized. Replace any hose showing cracking, bulging, or kinking.
- Depressurize before servicing — always turn off the compressor, disconnect from power, and release all tank pressure via the drain valve or the regulator before changing fittings, cleaning filters, or performing any maintenance.
- Keep the compressor away from flammable vapors — the motor can produce sparks; never operate near paint fumes, gasoline, or other flammables without proper ventilation.
- Drain the tank after every use — water condensation inside the tank causes internal rust, which weakens the tank wall over time. A rusted tank can fail catastrophically.
How to Shut Down and Store an Air Compressor Properly
Correct shutdown after every use prevents tank corrosion, prolongs component life, and ensures the compressor is ready for safe use next time.
- Turn off the power switch — allow the motor to stop completely before proceeding.
- Disconnect all air tools and hoses — release the quick-connect fittings. Leaving tools connected under pressure is a safety hazard if the compressor is bumped or moved.
- Open the regulator to release line pressure — turn the regulator fully counterclockwise to depressurize the output line. Some users also attach the blow gun briefly to clear residual hose pressure.
- Drain the tank — place a small container under the drain valve, then slowly open it by turning counterclockwise. Water and condensation will exit first, followed by the remaining air. Leave the valve cracked open during storage to allow air circulation and prevent corrosion.
- Wipe down the exterior — remove dust, oil, and debris from the housing, particularly around the intake filter and motor vents.
- Store in a dry location — keep the compressor away from freezing temperatures if it contains any residual moisture, as ice formation can damage the pump. Ideal storage is indoors at above 32°F (0°C).
Essential Air Compressor Maintenance Tasks
Routine maintenance keeps an air compressor running efficiently and safely for many years. Neglecting basic upkeep is the leading cause of premature compressor failure.
| Task | Frequency | Why It Matters |
|---|---|---|
| Drain the tank | After every use | Prevents internal rust and tank failure |
| Check/clean air intake filter | Monthly or every 50 hours | Maintains airflow; reduces pump wear |
| Check oil level (oil-lube models) | Before each use | Prevents pump seizure from insufficient lubrication |
| Change compressor oil | Every 3 months or 200 hours | Removes metal particles and degraded lubricant |
| Inspect hoses and fittings | Monthly | Catches cracks and leaks before they cause failures |
| Test safety relief valve | Every 3 months | Confirms it will open if pressure exceeds safe limit |
| Inspect tank exterior for rust | Every 6 months | External rust can indicate internal corrosion; retire tank if found |
| Tighten all bolts and fasteners | Annually | Vibration gradually loosens hardware over time |
A properly maintained air compressor can last 10–20 years or more. The most common cause of early failure in consumer compressors is a corroded tank from never draining condensation — a problem that takes less than 30 seconds per session to prevent entirely.


